Essential Care Instructions for Your Baltic Blades Kitchen Knife
First of all, I want to say a HUGE thank you for supporting me as a maker and letting me turn what I imagine in my mind into reality. If you have any suggestions, critiques, comments, feedback, or photos/videos of how you’re using my knives, please reach out to me personally on Facebook, Instagram, WhatsApp, or even email! Your feedback is what drives me forward. Now, let’s move on to the knife care instructions!

General info
Before using your knife, please wash it with warm water and dry it thoroughly.
My kitchen knives are made from AEB-L stainless steel, hardened to 60-61 HRC. All stainless steels are still stainless, not “stain-proof,” so even the best stainless steel can show signs of corrosion over time. To keep your knife looking like new, dry it after use and avoid leaving it in the sink with salty water for days. You may see some surface patina or even light rust, which is not critical but good to be aware of. Don’t be overly cautious—just enjoy using the knife.
It’s also worth noting that the laser-etched logo will gradually darken over time. This is a normal reaction of the etched steel with the environment.
The AEB-L steel is hardened to 60-61 HRC using cryogenic treatment, which involves dunking the knife in liquid nitrogen overnight between tempering cycles. This makes the steel extremely tough for what AEB-L can achieve. One of the best aspects of this steel is how easily it sharpens to a very fine edge, making maintenance simple and straightforward.
Things to do, to make the knife last several lifetimes...
The most important factor in making a knife good—or even the best—is how long it stays sharp. Edge retention and sharpness are about 90% dependent on the habits of the user. We’ll cover the habits you should develop next, but first, it’s important to understand the intended use of these knives.
Avem line knives are designed for efficiency and pleasure in cutting, meaning you’ll feel very little resistance when using them on the products they were made for. All knives are sharpened to a 17-degree angle per side, providing an excellent balance of edge retention and sharpness. Out of the box, these knives will shave hair, slice thin printer paper, and handle paprikas, chicken, potatoes, and tomatoes with ease.
What you should never do with these knives:
• Cut on a ceramic/metal/glass plate/cutting board or just on the table (cutting boards are in stock at https://balticblades.com/)
• Wash this knife in the dish washer.
• Try to cut frozen food.
• Leave the knife in a very moist environment for a very long time.
• Stick the knife point first into the ground.
• Cut food containing bones.
• Cut cheese (these knives are very thin, so when the cheese sticks and you bend the knife sideways, the edge can chip)
Always remember that bending the knife sideways when it’s stuck can be catastrophic. These knives are very thin behind the edge (0.10-0.15mm) to achieve exceptional cutting performance.

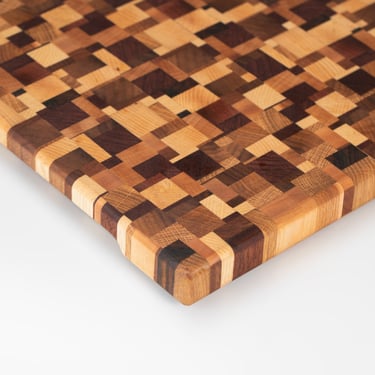
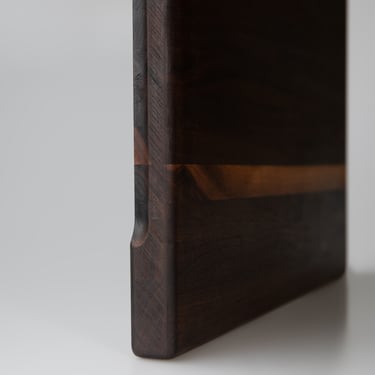
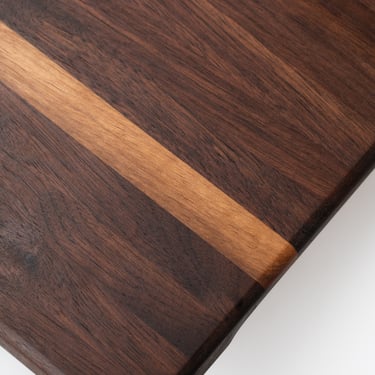
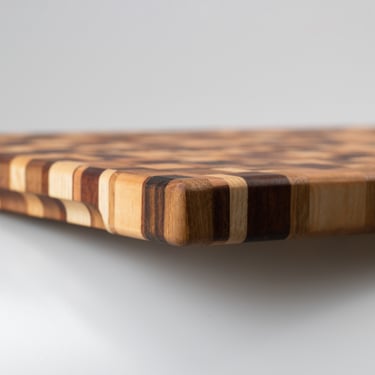
Above, you can see some of the cutting boards that are or will be in stock on balticblades.com They are designed to preserve your knife edge while also looking beautiful.
Keeping in mind everything mentioned above, knife sharpening will be easy. You’ll need to maintain your edge roughly every two weeks (more or less, depending on use) and resharpen every six months or less. Don’t wait until your knife is completely dull—maintain it as needed. When it can’t cut paper, it’s time for attention. Ikea catalogs or plain white paper work perfectly for this test.
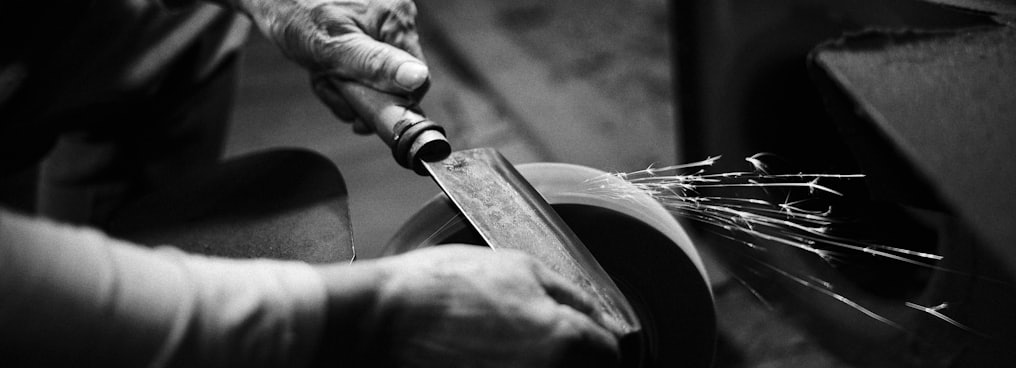

How to sharpen and maintain your knife
Sharpening is a separate and extensive subject, with many passionate and sometimes fanatical followers. There are countless ways to sharpen a knife, and all of them are valid—if the knife reaches the desired sharpness, there’s no wrong method.
All knives I make can be resharpened free of charge. I can even repair a broken edge, as long as it happened during normal use and not from using the knife as a pry bar. You’ll only need to cover shipping costs, and wait times may vary depending on my workload.
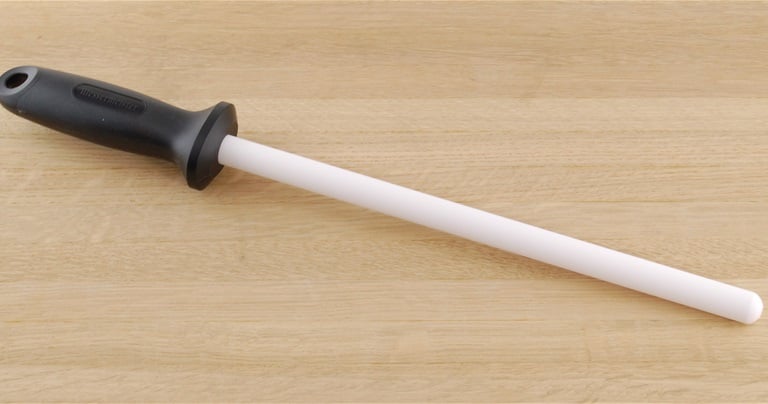
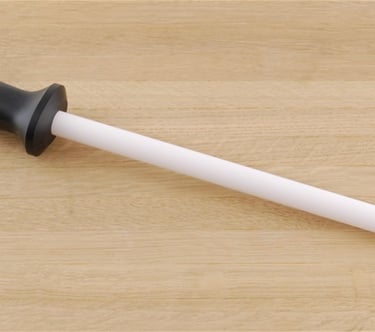
Below, you’ll find some edge maintenance and sharpening methods you can use at home, suitable for different levels of users:
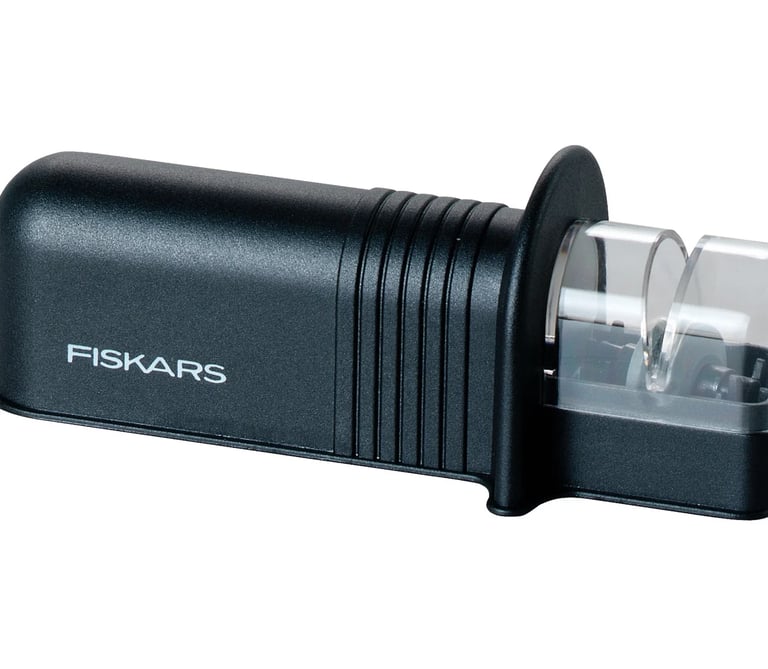
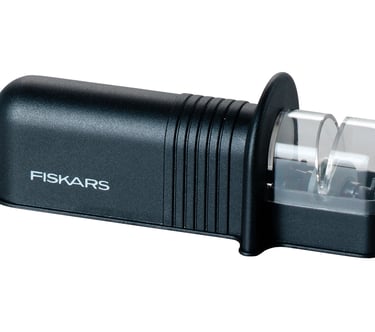
To the left, you can see the most common type of sharpening tool. Using one is very simple and requires little explanation: you simply glide the blade through the slot. When buying such a sharpener, make sure it has fine ceramic wheels rather than aggressive ones, as harsh wheels can wear down the thin edge quickly. Avoid models with fixed “V”-shaped plates, as they remove too much metal and shorten the life of your knife. After using this type of sharpener, I highly recommend finishing with a leather strop to achieve maximum sharpness and a polished edge.
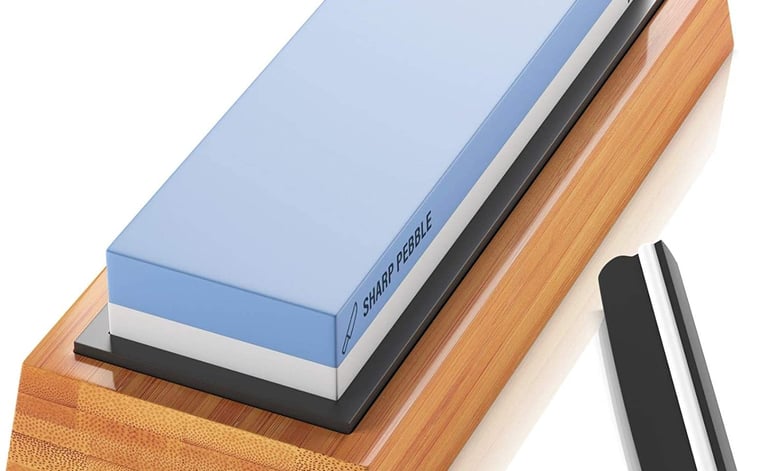
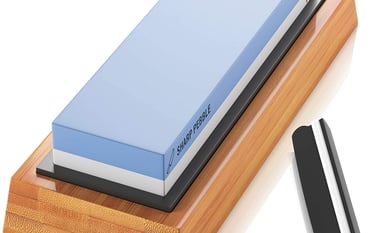
The last and most advanced way to sharpen a knife is using wet stones. This method requires practice and knowledge of what you’re doing and the results you want to achieve. However, if the knife edge is damaged or heavily worn, wet stones are the fastest way to restore it.
I recommend a combined stone with one side at 400 grit and the other at 1000 grit, giving you a side to quickly remove material and a side to hone the edge. (I will have some affordable beginner stones in stock in the coming days.) After using a stone, I also recommend finishing with a leather strop.
Here is a great entry level explanation on how to use wet stones for sharpening video.
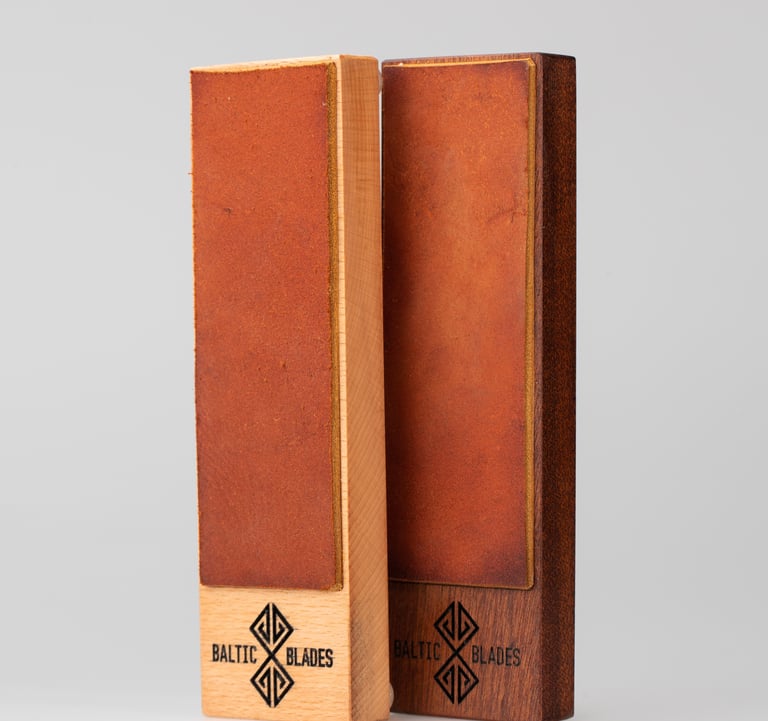
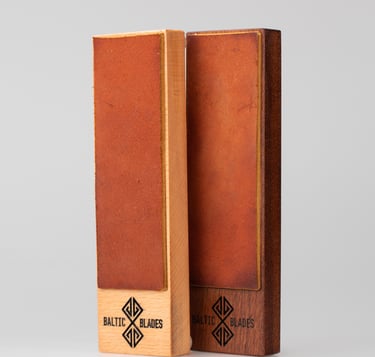
Leather strops are the best and least abrasive way to maintain your knife edge, meaning the blade steel won’t wear down from use. They are not meant for sharpening (reforming the cutting edge), but for maintaining it, fixing small imperfections, or as the final step when resharpening to remove the burr from the edge.
Currently, there are two versions available: one in Beech and one in Mahogany. Both feature silicone feet for stable use on tabletops or outdoors, and are fitted with high-quality belt leather designed specifically for stropping.
Subscribe to Baltic Blades newsletter, I don't spam I promise.
Contact me
Paulius Jančiukas
Individual activity no.: 1100134
Email: info@balticblades.com
Phone: +370 652 44871